In a world where self-care has become a non-negotiable part of our routines, the art of manicuring has taken center stage. A beautifully polished set of nails not only adds a touch of elegance to one’s appearance but also serves as a form of self-expression. However, regular trips to the nail salon can be time-consuming and costly. Fortunately, with the right tools, techniques, and a dash of creativity, achieving salon-quality nails at home is within reach. Welcome to the world of DIY manicures, where polished perfection is just a few steps away.
The Basics:
Before diving into the world of DIY manicures, it’s essential to gather the necessary tools. A basic manicure kit typically includes nail clippers, a nail file, a cuticle pusher, a cuticle trimmer, a nail polish remover, a base coat, a nail polish of choice, and a top coat. Additionally, investing in a good quality nail polish remover and a variety of nail polish colors will give you the flexibility to experiment with different looks.
Preparation is Key:
Just like any masterpiece, a flawless manicure begins with a clean canvas. Start by removing any existing nail polish using a gentle acetone-free nail polish remover. Once the nails are clean, trim and shape them to your desired length and shape using a nail clipper and file. Remember to file in one direction to prevent splitting and weakening of the nails.
Pamper Your Cuticles:
Healthy cuticles are the foundation of a beautiful manicure. Gently push back the cuticles using a cuticle pusher, being careful not to damage the surrounding skin. For any excess cuticle growth, carefully trim using a cuticle trimmer, but avoid cutting too close to the nail bed to prevent irritation and infection.
Prime and Protect:
Before applying nail polish, it’s crucial to prep the nails with a base coat. Not only does a base coat provide a smooth surface for the nail polish to adhere to, but it also helps protect the nails from staining and damage. Allow the base coat to dry completely before moving on to the next step.
The Art of Application:
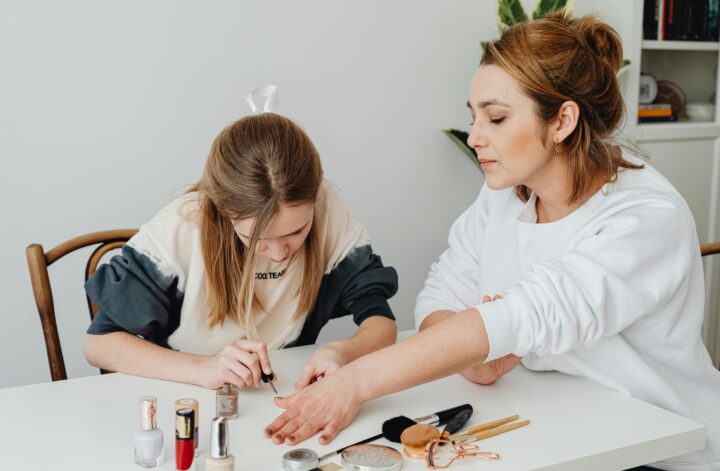
Now comes the fun part – choosing your nail polish color and applying it with precision. Start by rolling the nail polish bottle between your hands to warm up the formula and prevent air bubbles. Then, apply thin, even coats of polish, starting from the base of the nail and working towards the tip. For best results, wait a few minutes between each coat to allow the polish to dry slightly.
Seal the Deal:
Once you’ve achieved your desired level of color intensity, it’s time to seal in the polish with a topcoat. A topcoat not only adds shine to your manicure but also helps extend its longevity by preventing chipping and peeling. Apply a generous layer of topcoat to each nail, making sure to cap the free edge for extra durability.
Finishing Touches:
After applying the topcoat, take a moment to clean up any stray polish using a small brush dipped in nail polish remover. This will give your manicure a polished, professional finish. Once you’re satisfied with the results, allow your nails to dry completely before going about your day.
Maintenance Matters:
To prolong the life of your DIY manicure, it’s essential to practice proper nail care between polish changes. Keep your nails hydrated by applying cuticle oil regularly and wearing gloves when doing household chores or working with harsh chemicals. Additionally, avoid using your nails as tools to prevent chips and breaks.
Unleash Your Creativity:
One of the greatest advantages of DIY manicures is the ability to express your personality through nail art. Whether you opt for simple accent nails, intricate designs, or trendy nail trends, the possibilities are endless. Experiment with different colors, textures, and techniques to discover your signature style.
Conclusion:
Mastering the art of DIY manicures at home is a rewarding journey that empowers you to take control of your self-care routine. With the right tools, techniques, and a little bit of practice, achieving polished perfection is well within reach. So why wait? Grab your favorite nail polish and get ready to unleash your inner artist one brush stroke at a time.


