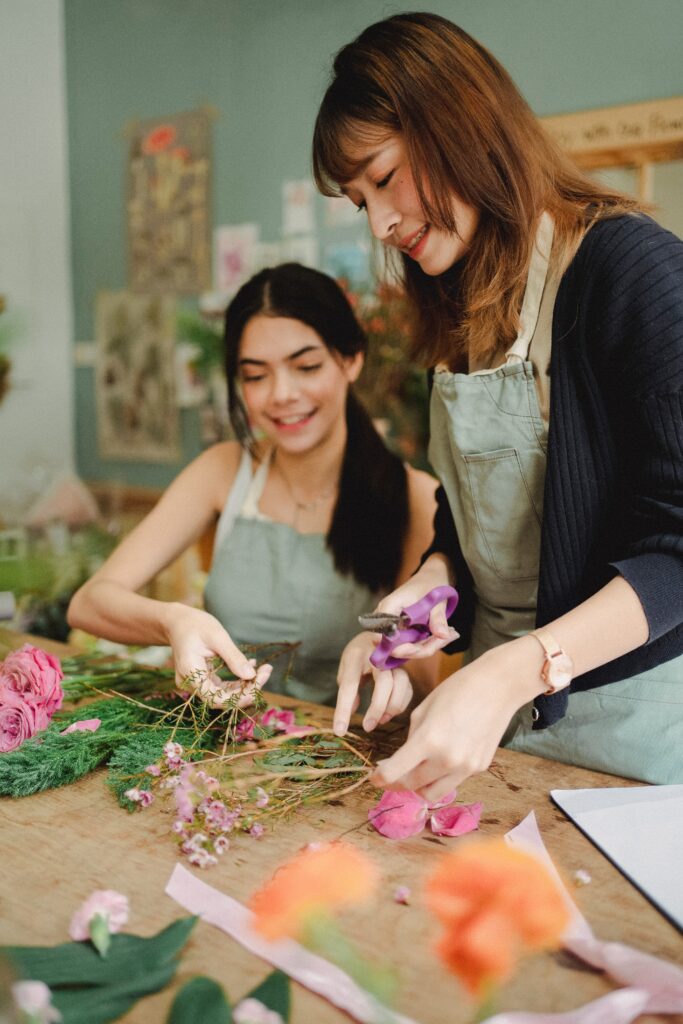
To begin arranging flowers, firstly you will need to learn the basics of Floral design including the wiring methods involved in it, including the wrap around and the bracing methods.

To start off, let’s get a checklist together of the items that you will need to complete your wrap around extension method floral design.
Items That You Need To Prep For the Wrap Around Method Floral Design
Before you begin learning about the designs that you want to create, such as the wrap around extension method floral design, below is an itemised list of items required to do proper floral wiring:
- Flower scissors
- Head pins
- Floral tape
- Bracelet for protection
- Floral wiring
- Rags
The Essentials
Before you begin, here are a few things that you will need to know before you create your wrap around extension method floral design:
What Floral Tape Should I Use?
This is one of if not the most important part of flower arranging. Without it, you can’t form your flower arrangements and set up your design. The tape covers all of the wiring, and provides the additional support required to prevent the structure falling and moisture escaping.
Wiring
Another main essential is the floral wires. There are lots of different sizes available to make sure you only choose the one appropriate for the structure you’re creating.
Make sure you keep the same thickness level throughout your wrap around extension method floral design because it’s essential to keeping a strong structure and support.
If the support fails, the overall structure will fail so it’s very important that you choose the correct wiring and maintain thickness throughout.
Flower Prep
Before we begin looking at the floral techniques like the wrap around extension method floral design, we also need to pay close attention to the condition of the flowers.
To start prepping the flowers, we should lay down a towel to drain excess moisture and surface water, and cut 1cm lengths and remove all thorns that you can see, and parts that aren’t very desirable.
Now that your work area is set up, you can keep cutting pieces until you have all of the flowers for your arrangement. Utilizing the towel space makes things easier for you too, as everything is within reach and not wet.
Wiring Methods
There are a lot of different wiring methods that a floral designer may use, the main two methods are the wrap around extension method floral design, and the straight wire bracing method floral design. Descriptions of these two methods are below:
Wrap Around Extension Method Floral Design:
The wrap around extension method Floral design is the best method for filler flowers, and smaller masses of flowers. A few examples of this category include statice, or even the illustrious baby’s breath. You begin by wrapping the stem with wire many times, and then you bend your wire along the stems through the petals.
Bracing Method Floral Design:
This is different to the wrap around extension method floral design. The bracing method is another way of placing floral tape, where the tape is placed below the blossom. The structure is created as a way to support the flowers for larger displays.
This method is essential for helping support larger more solid structures for longer periods.
More Floral Design Mentions
Flowers and Concepts
The first step in your first Floral design job is to create the concept of your flower arrangement, and the design of it. It’s usually adapted to the specific event like a wedding, a party or a restaurant theme. This concept will then determine your choices later on.
Combinations
Now you should choose the combination of different types of flowers that you will use to match your concept.
You should choose at least three different flowers, with different thicknesses if you can source them. One flower should be much larger than the others as a centrepiece and the color of this should be much brighter too. When you choose the wrap around extension method floral design, make sure you choose a primary color in the centre to make it stand right out.
The type of flower is also key, as it can effect the arrangement. Remember to combine several different types of flower that are thicker and thinner, to make the arrangement robust, thick and full.
What Colors Should I Use?
Simple and easy – match your theme. Tailor your colors to the event, if it’s a wedding it should be calm but with nods to the theme of the wedding, something that will brighten the day event but can still be seen at night would be perfect. Similarly for a party or restaurant, check the place out to see what lighting they have, so that it might compliment your arrangement.
If you choose the wrap around extension method floral design make sure you choose brighter primary colors for your design.
Keep Them Fresh
If your arrangement is made to stand the test of time, make sure it looks good the whole time too. Some flower feed and water will go a long way to make sure those day time and night time photos are stunning with your arrangements.
Don’t forget to make sure it is symmetrical and beautiful from all angles too, so that when people see it they are instantly drawn to it.
Conclusion
I hope you learned a lot about the basics of Floral design and found my blog helpful, hopefully you learned a lot on this guide to the wrap around extension method floral design.
If you would love to learn a little more about floral design, check out some of my friends through the links here and here. They are amazing at what they do and world renowned.
If you’re just starting your floral design business, you should definitely check out my article on business success too, it really helps & thank you so much for reading! https://knitwitch.com/5-tips-to-make-your-side-hustle-a-success/
Thank you so much for reading, if you want to see other awesome content, check out a few of my other categories across the blog!
If you loved the content, why not leave a kind comment for others to read at the bottom 🙂


